
1. First, I traced an owl-like shape on a large sheet of sketch paper. It wasn't even, so I ended up just cutting my felt halfway, then folding it in half and finishing cutting (to make sure it was symmetrical). I chose light blue for the front of the owl, and yellow for the back. To make the back piece, I just used the front piece as a guide. I also evened out the edges that weren't a smooth line.


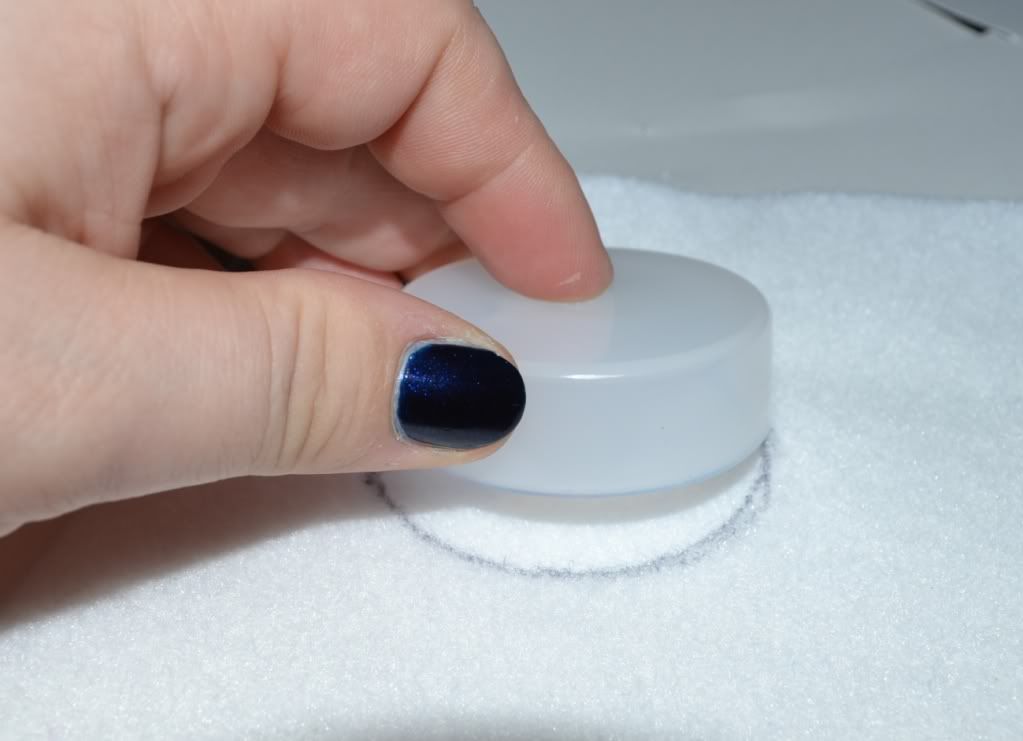
2. Next, I cut out my details. I traced a plastic cap from my camera for the eyes (white felt). For the iris of the eye, I used a button as a guide and cut out smaller circles of dark blue felt. The beak, I cut out a triangle of purple felt.
 |
| Ignore my dry cuticles. They need love! |

3. Next, I sewed the smaller details to the owl (except the eyes, I sewed the iris to the white felt first.)


4. I didn't take a lot of pictures for this next step, and honestly I'm not going to be any good at describing what I used to sew the front and back together. I did a blanket stitch, and I learned it HERE. I find that she is awesome at explaining it, and for the sake of not having 100+ photos in this post, just use her tutorial for the blanket stitch!
For the blanket stitch, I started a little below the left ear (with my back & front pieces pinned together, of course) and took a break once I was almost at the other ear. This is when I stuffed my toy.

5. Once I finished the first ear, I shoved more stuffing in, and with my finger pushed it up into the peak of the ear (so it wouldn't be flat). Then I continued stitching until I had just a little bit left of the second ear.

And then I finished stuffing, by shoving cotton balls into the ear.

6. I finished up my blanket stitch, still following this tutorial, and I was done!

 |
| You can see the blue wipe case through the yellow felt - Oops! |

Hope this tutorial helps someone! I plan on giving this toy to my Marshmallow as a Christmas present. He loves to try and grab the wipes (and squirms trying to roll over) while I'm changing him, so I hope he'll enjoy his crinkly toy instead! Next I think I might tackle doing some felt ornaments. Should I do yellow stars or our initials? I'll ask the fiance when he gets off work...
Thanks for looking! :)
No comments:
Post a Comment